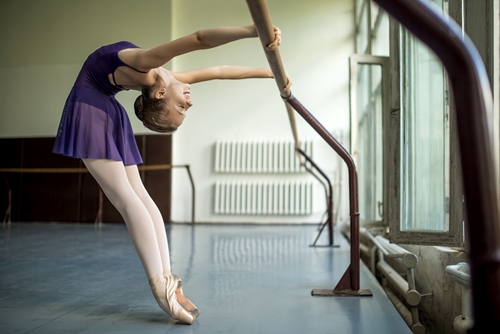
Nothing sells your dance studio to prospective students quite like a perfectly captured photograph. Maybe it’s all your dancers smiling during their final recital number or a great shot of a tumbler in action. Whatever your favorite pictures may be, they’re likely an essential part of your marketing strategy. But sometimes pictures need a little help before they can wow your audiences. Capturing action shots is tricky to begin with and even more difficult when you’re in a dark auditorium. That’s why it’s important for studio owners to learn how to artfully manipulate digital photographs with editing software. Not sure where to start? Here’s a guide with dance photography tips that will help you capture the best pictures and transform them into invaluable works of art.
How to Get the Best Pictures
Just like with choreography or any other work of art, the better your materials are, the more impressive the final product will be. You’re not going to create a breath-taking performance with lackluster tricks, and you probably won’t end up with an amazing photograph if you start out with a sub-par snapshot.
With that in mind, use this tips to get the best pictures possible:
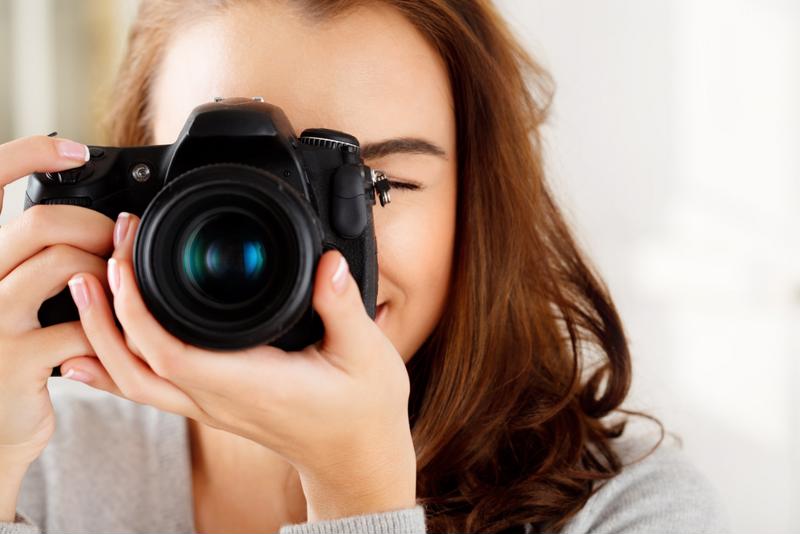
- Use a digital single-lens reflex camera, also called a DSLR, if possible. These cameras are easy to use and capture much clearer pictures than point-and-shoot cameras.
- You’ll want to put your camera on the highest ISO setting, which will make the camera more sensitive to light and therefore better able to capture quick snapshots of moving subjects.
- Try to take photos in quick bursts so you have a number of action shots to choose from. A fast shutter speed will improve the clarity of these pictures.
- Don’t get stuck in one spot. Move around to capture different angles so you have pictures from every side.
- Try to take pictures both close up and far away. To accomplish this, you can either use the zoom function or simply move closer to the stage.
Grab your DSLR and get shooting!
Choosing an Editing Program
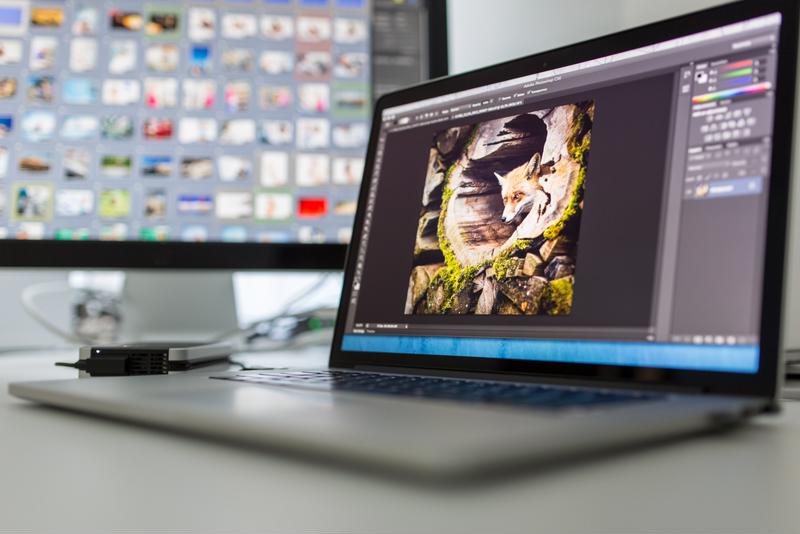
Before you can start digitally altering your photographs, you’ll need to find editing software. There are many great programs available, and there are options to fit just about every budget. Software like Apple’s Photos is free for Mac users, as are online programs like Pixlr and Photobucket. If you’re willing to spend some money for a more high-tech option, look into Adobe Photoshop Elements or Pixelmator, both of which have low one-time fees.
Whatever program you choose, you’ll need a few key feature editing capabilities. Look for software that offers the following tools:
- Cropping
- Straightening
- Resizing
- Shadow and highlight adjustment
- Saturation adjustment
- White balance adjustment
- Sharpen and blurring
- Red-eye removal.
“Photo editing is often learned through trial and error.”
How to Edit a Photograph Step-by-Step
Now that you have a host of pictures and editing software, it’s time to start learning the ropes. For many amateurs, editing pictures is a trial-and-error style process. You have to figure out the flow that works for you! Here are a few guidelines to get you started.
1. Upload and Store Your Images
You’ll need to transfer your pictures from the camera onto the computer, whether it’s through a USB cord or the Cloud. Once they’re uploaded to the computer, create a file for the original images and label the folder clearly so you can quickly find them later on.
2. Pick Out Superior Snapshots
If you have dozens of images to chose from, you can make your job a little easier by doing an initial run-through of all the pictures. Find five or six photos that are clear and focused, and separate them into a new folder. These will be the images that you edit.
3. Crop and Straighten
Start by using the cropping tool to cut off any empty space in the picture. It’s often better to have a close-up view of your subjects than to have them get lost in a big background. You’ll also want to use a straightening tool to level the horizons of your photo. If the picture is on a slant, tilt it so the dancers are standing tall.
Don’t be afraid to mess around with test photos to get comfortable with your editing program.
4. Adjust the Levels
Now comes the tricky part. There are many different levels that you can adjust in a photograph, including exposure, brightness, white balance, sharpness, shadows, highlights and more. Some pictures may not need adjustment in these departments, but you can fool around with the aspects to see how you can improve the photo.
In general, you may want to tinker with the white balance so that any white objects appear clearly and aren’t tinted by the stage or studio lights. You can also sharpen the image a bit if it’s unclear or blurry. This is also a good time to remove red eye from any of your subjects and smooth out blemishes on any close-up shots.
5. Save or Scrap Your Edits
The great thing about digital photo editing is that it’s easy to revert back to the original picture if your edits don’t come out right. Keep working at your editing skills, and soon you’ll discover that with a few quick tweaks, your photos look as if they were shot by a professional.